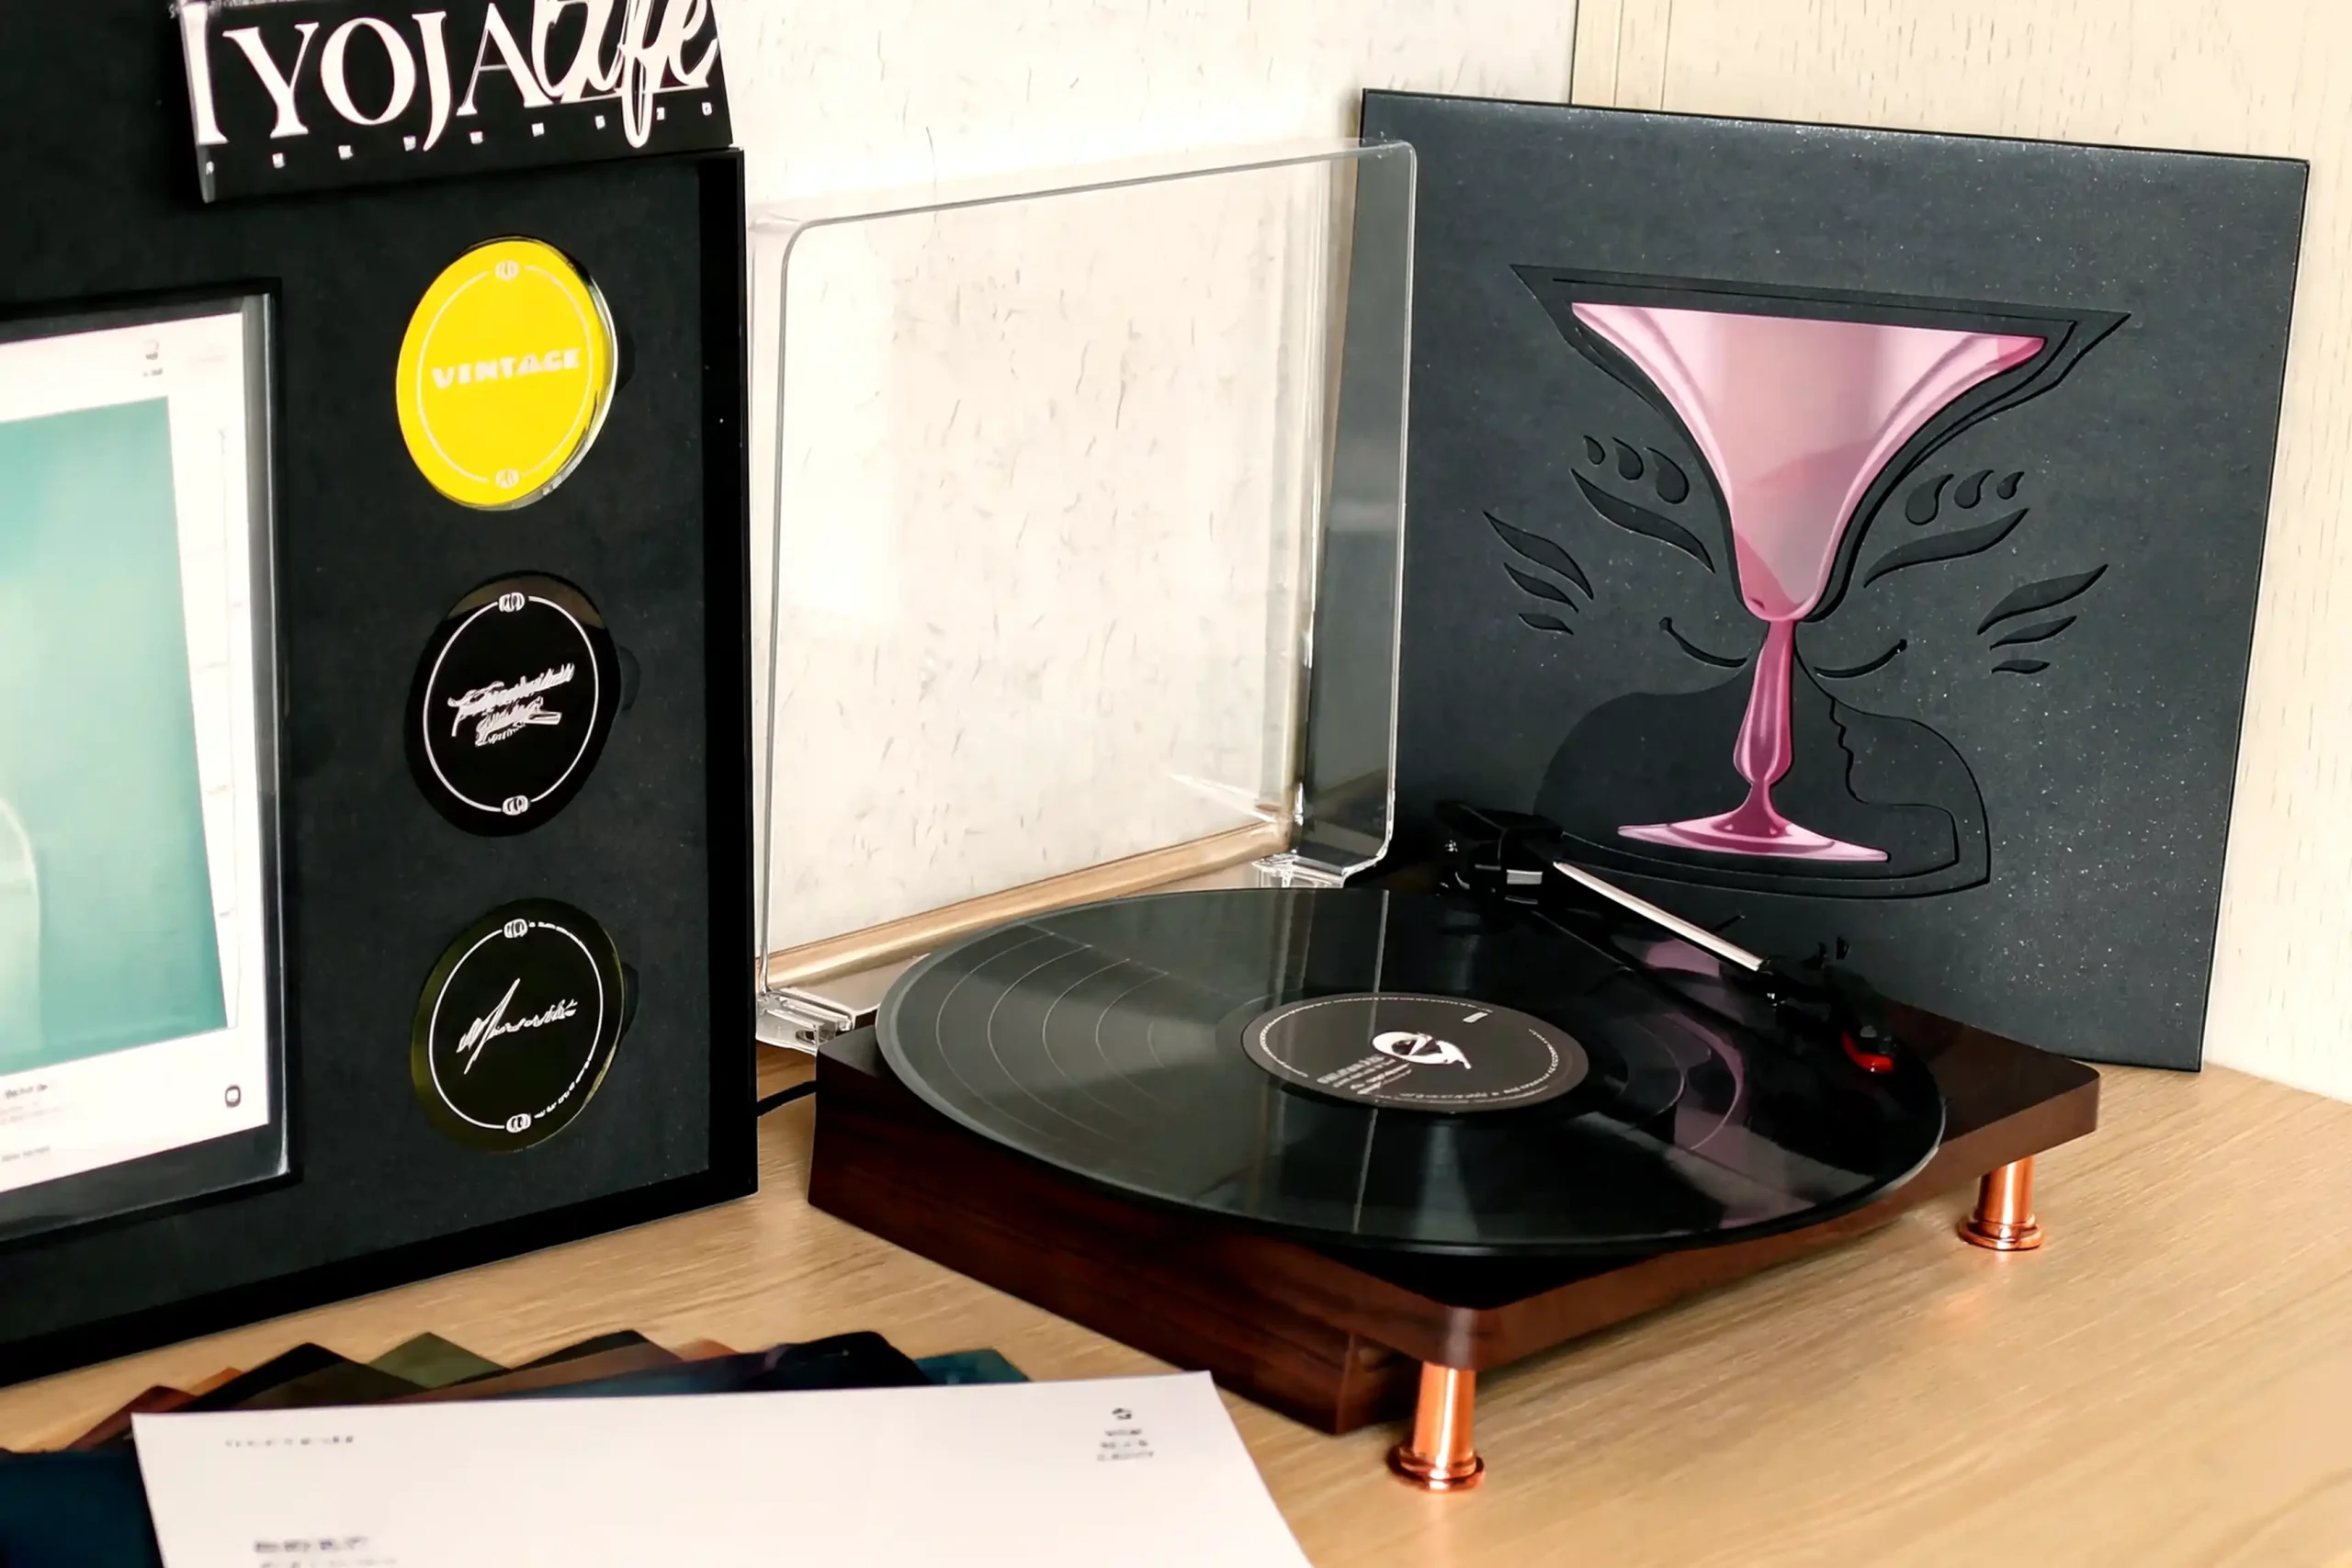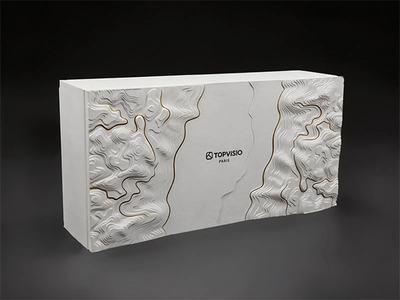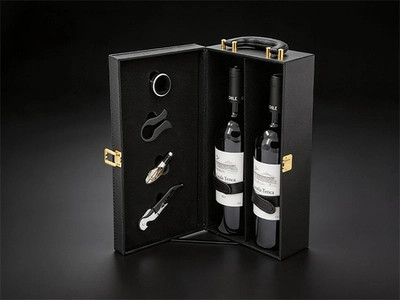
Watch a box move through final assembly and you’ll notice something: the magnet, the flocked lining, the metal nameplate — almost none of it goes on until the structure itself is already folded and formed. Gift box hardware and linings are last for a reason, and the order they’re installed in is a lot more fixed than most buyers assume.
This guide covers how magnets, flocking, and hardware actually get installed, and why the sequence rarely changes even across very different product categories.
Why Hardware and Linings Are Almost Always the Last Step
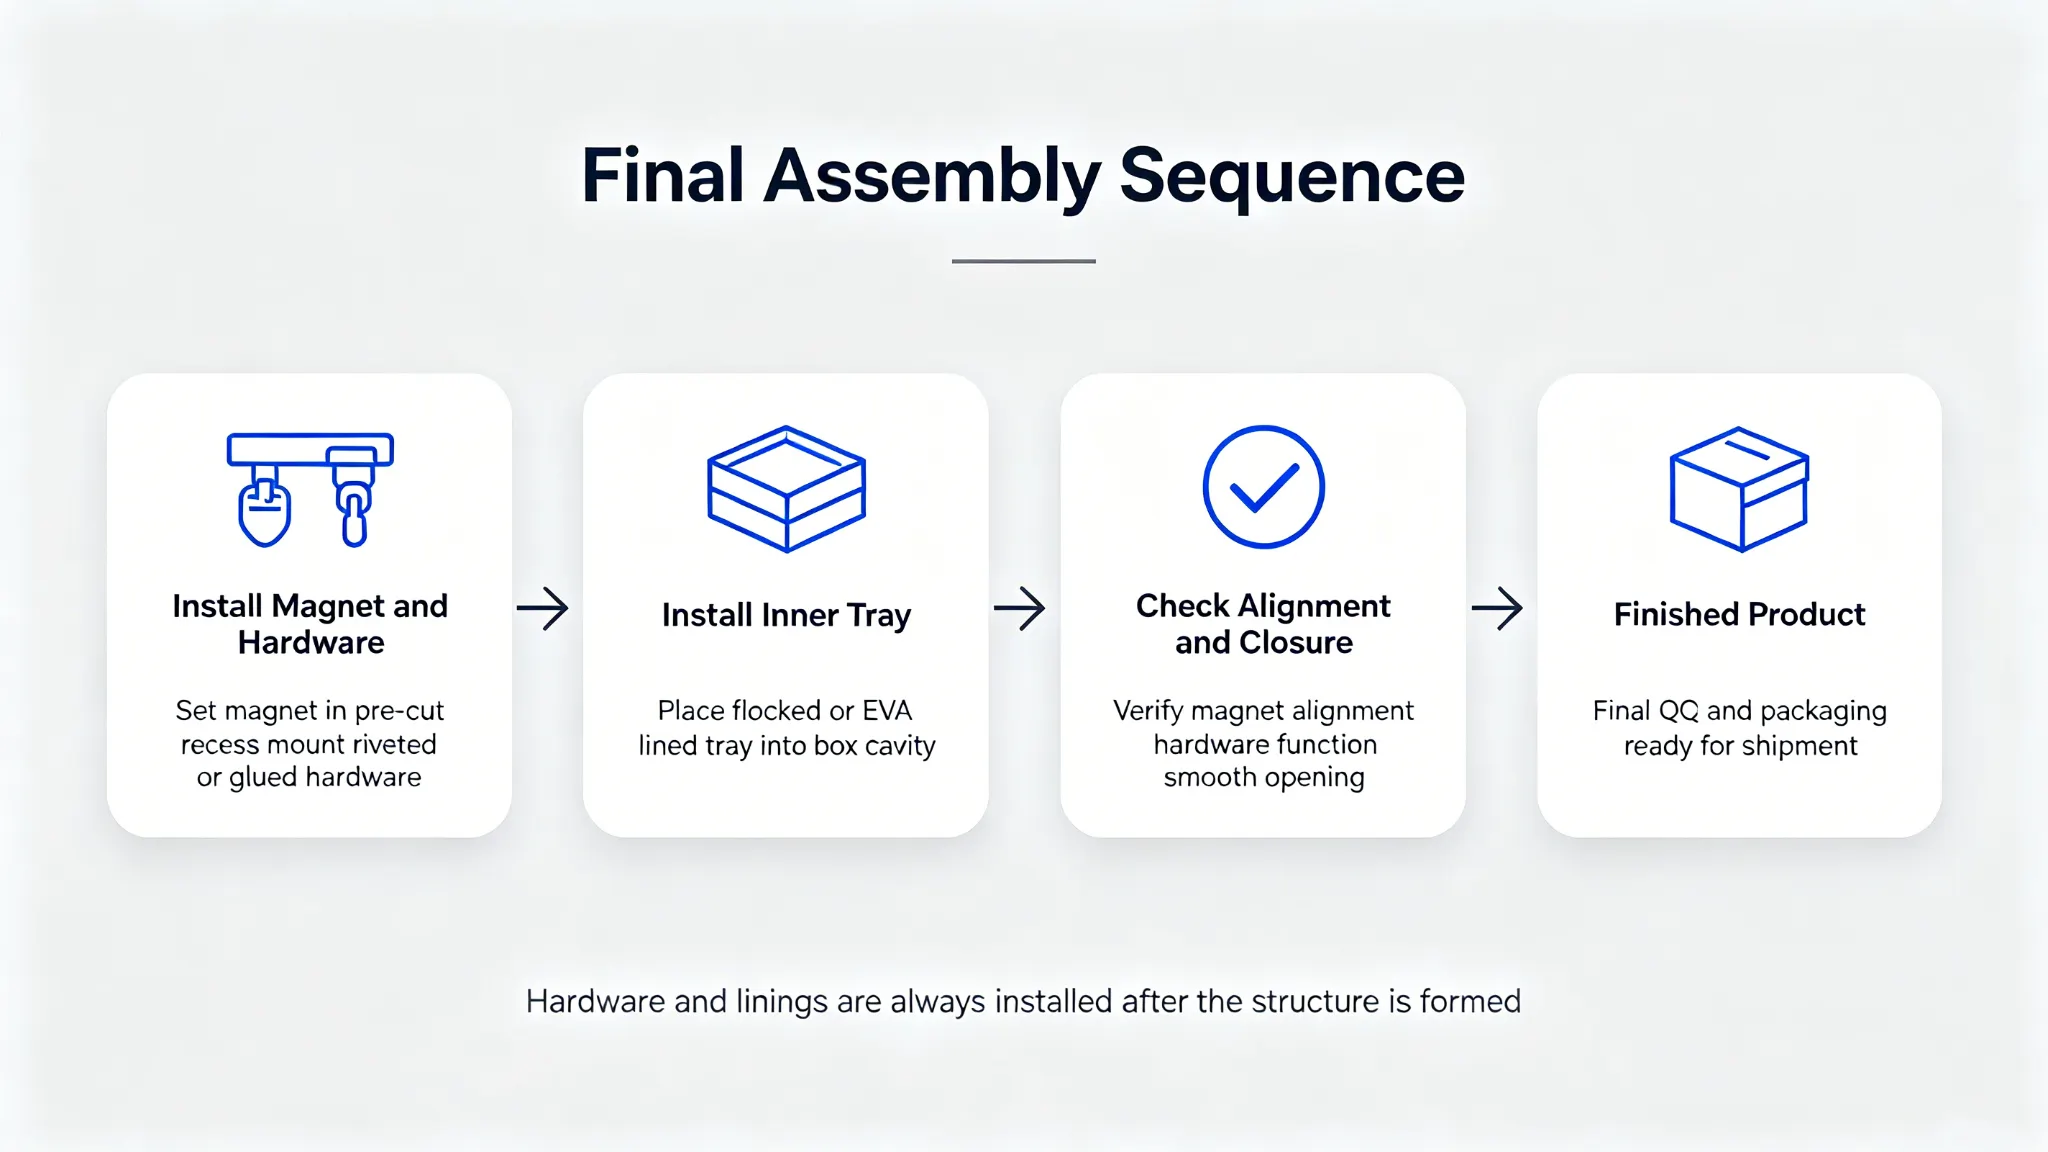
Every process described elsewhere in this series — printing, foil, embossing, die-cutting — happens to a flat or partially formed sheet. Gift box hardware installation happens to a structure that’s already taken shape, because most hardware needs a finished surface or a formed cavity to attach to. Installing a magnet or a metal nameplate before the panel is folded risks misalignment once the fold happens; installing it after means the installer is working with the actual finished geometry, not a flat approximation of it.
Installing a Magnet: Before or After the Panel Folds Shut
Most magnets get embedded into a panel before final folding, set into a pre-cut recess so the panel can still fold flat around it. The recess itself is created during die-cutting, matched precisely to the magnet’s dimensions, and the magnet is set in place as one of the last steps before the panel closes around it. Getting this sequence wrong — folding before the magnet is properly seated — is one of the more common causes of a magnet that shifts or rattles inside the finished structure.
Flocking Application: Why It Happens Before Hardware, Not After
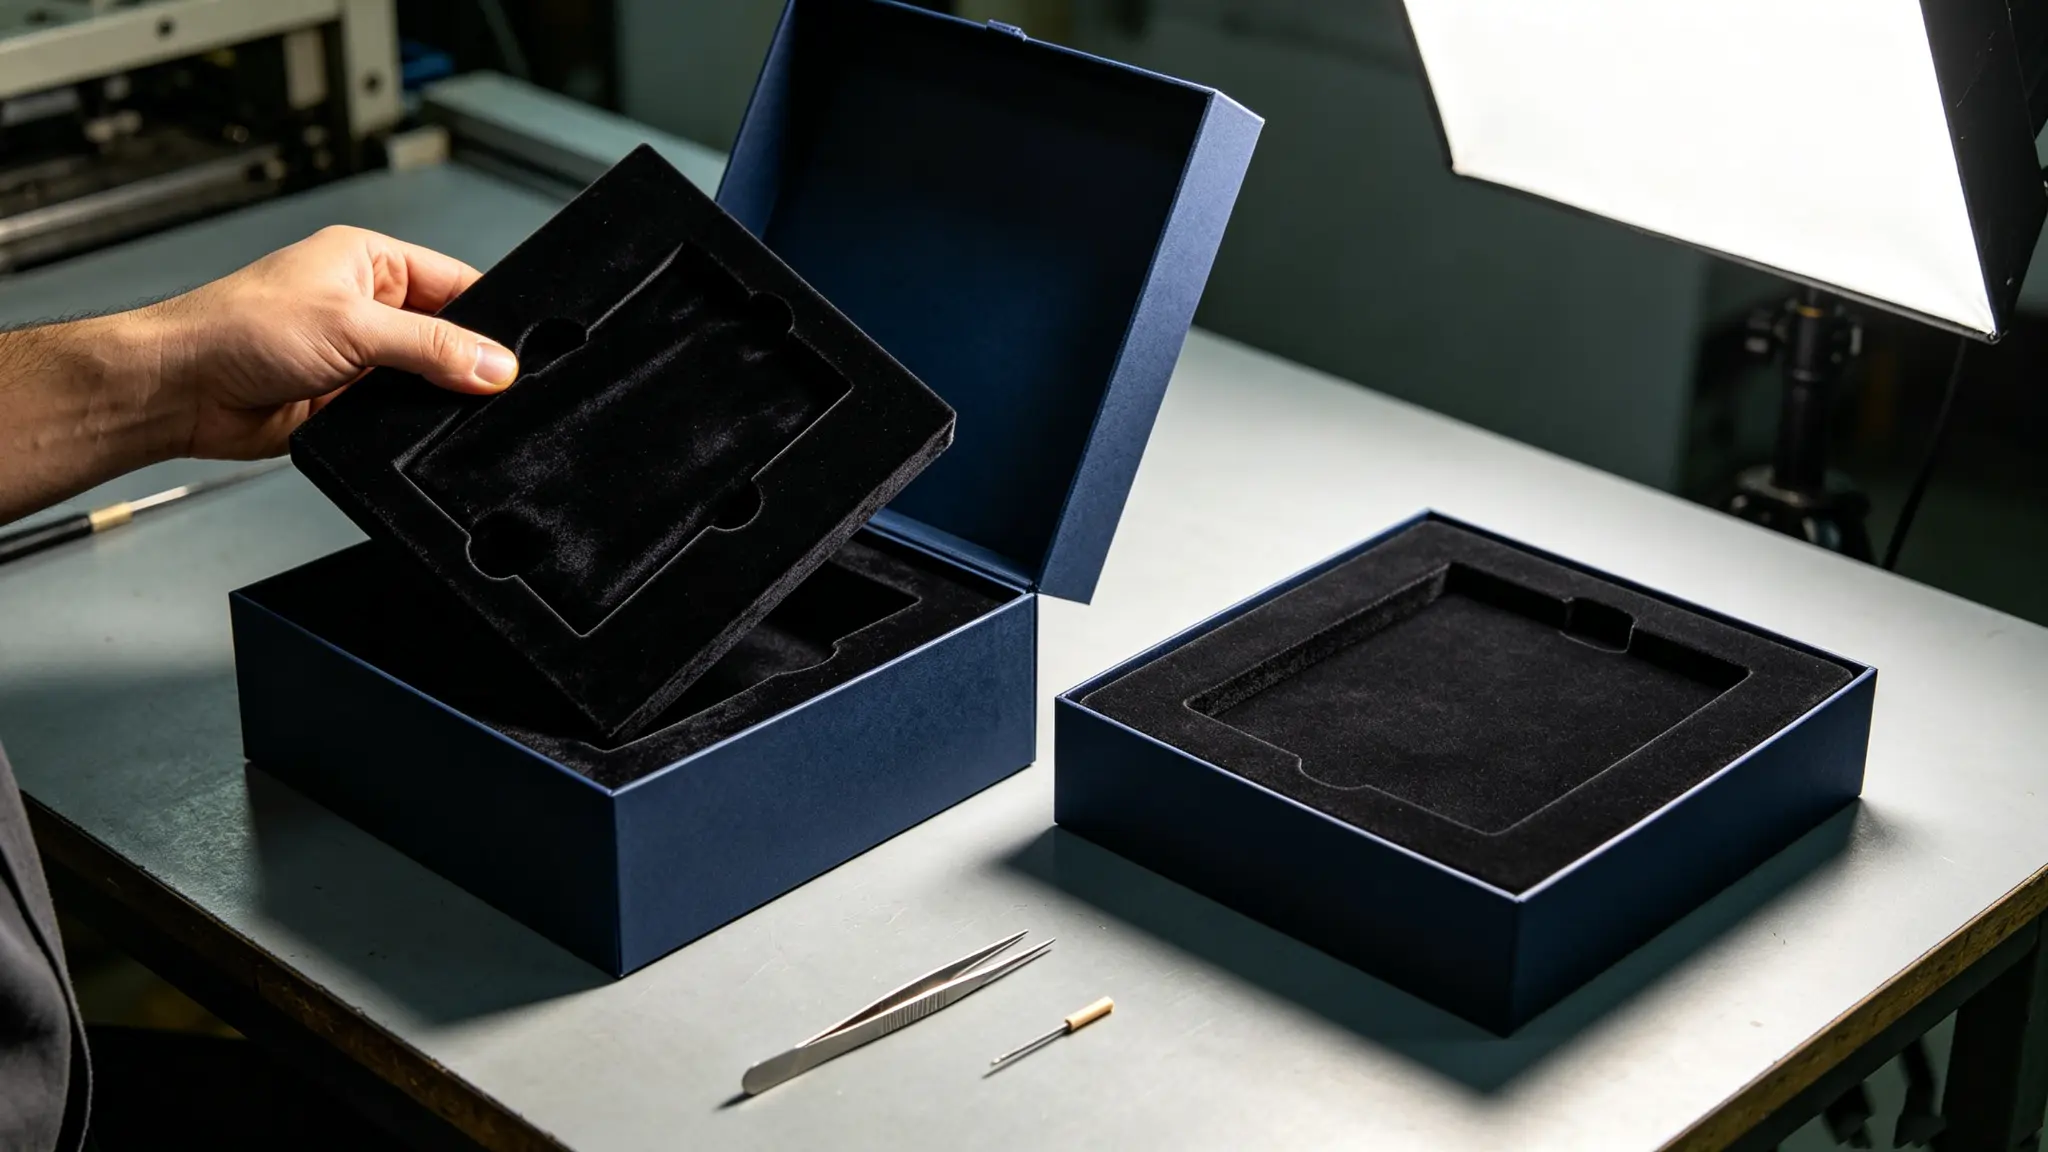
Flocked fabric is applied to a flat or gently curved surface using an adhesive base, which means it has to go on before any hardware is mounted on top of or near that surface. Mounting a metal nameplate or a hardware clasp first would leave the flocking installer working around an obstruction, risking uneven adhesive coverage right at the edge of the hardware. Gift box hardware installation is deliberately sequenced after flocking for exactly this reason.
Real Examples: The Installation Order in Practice
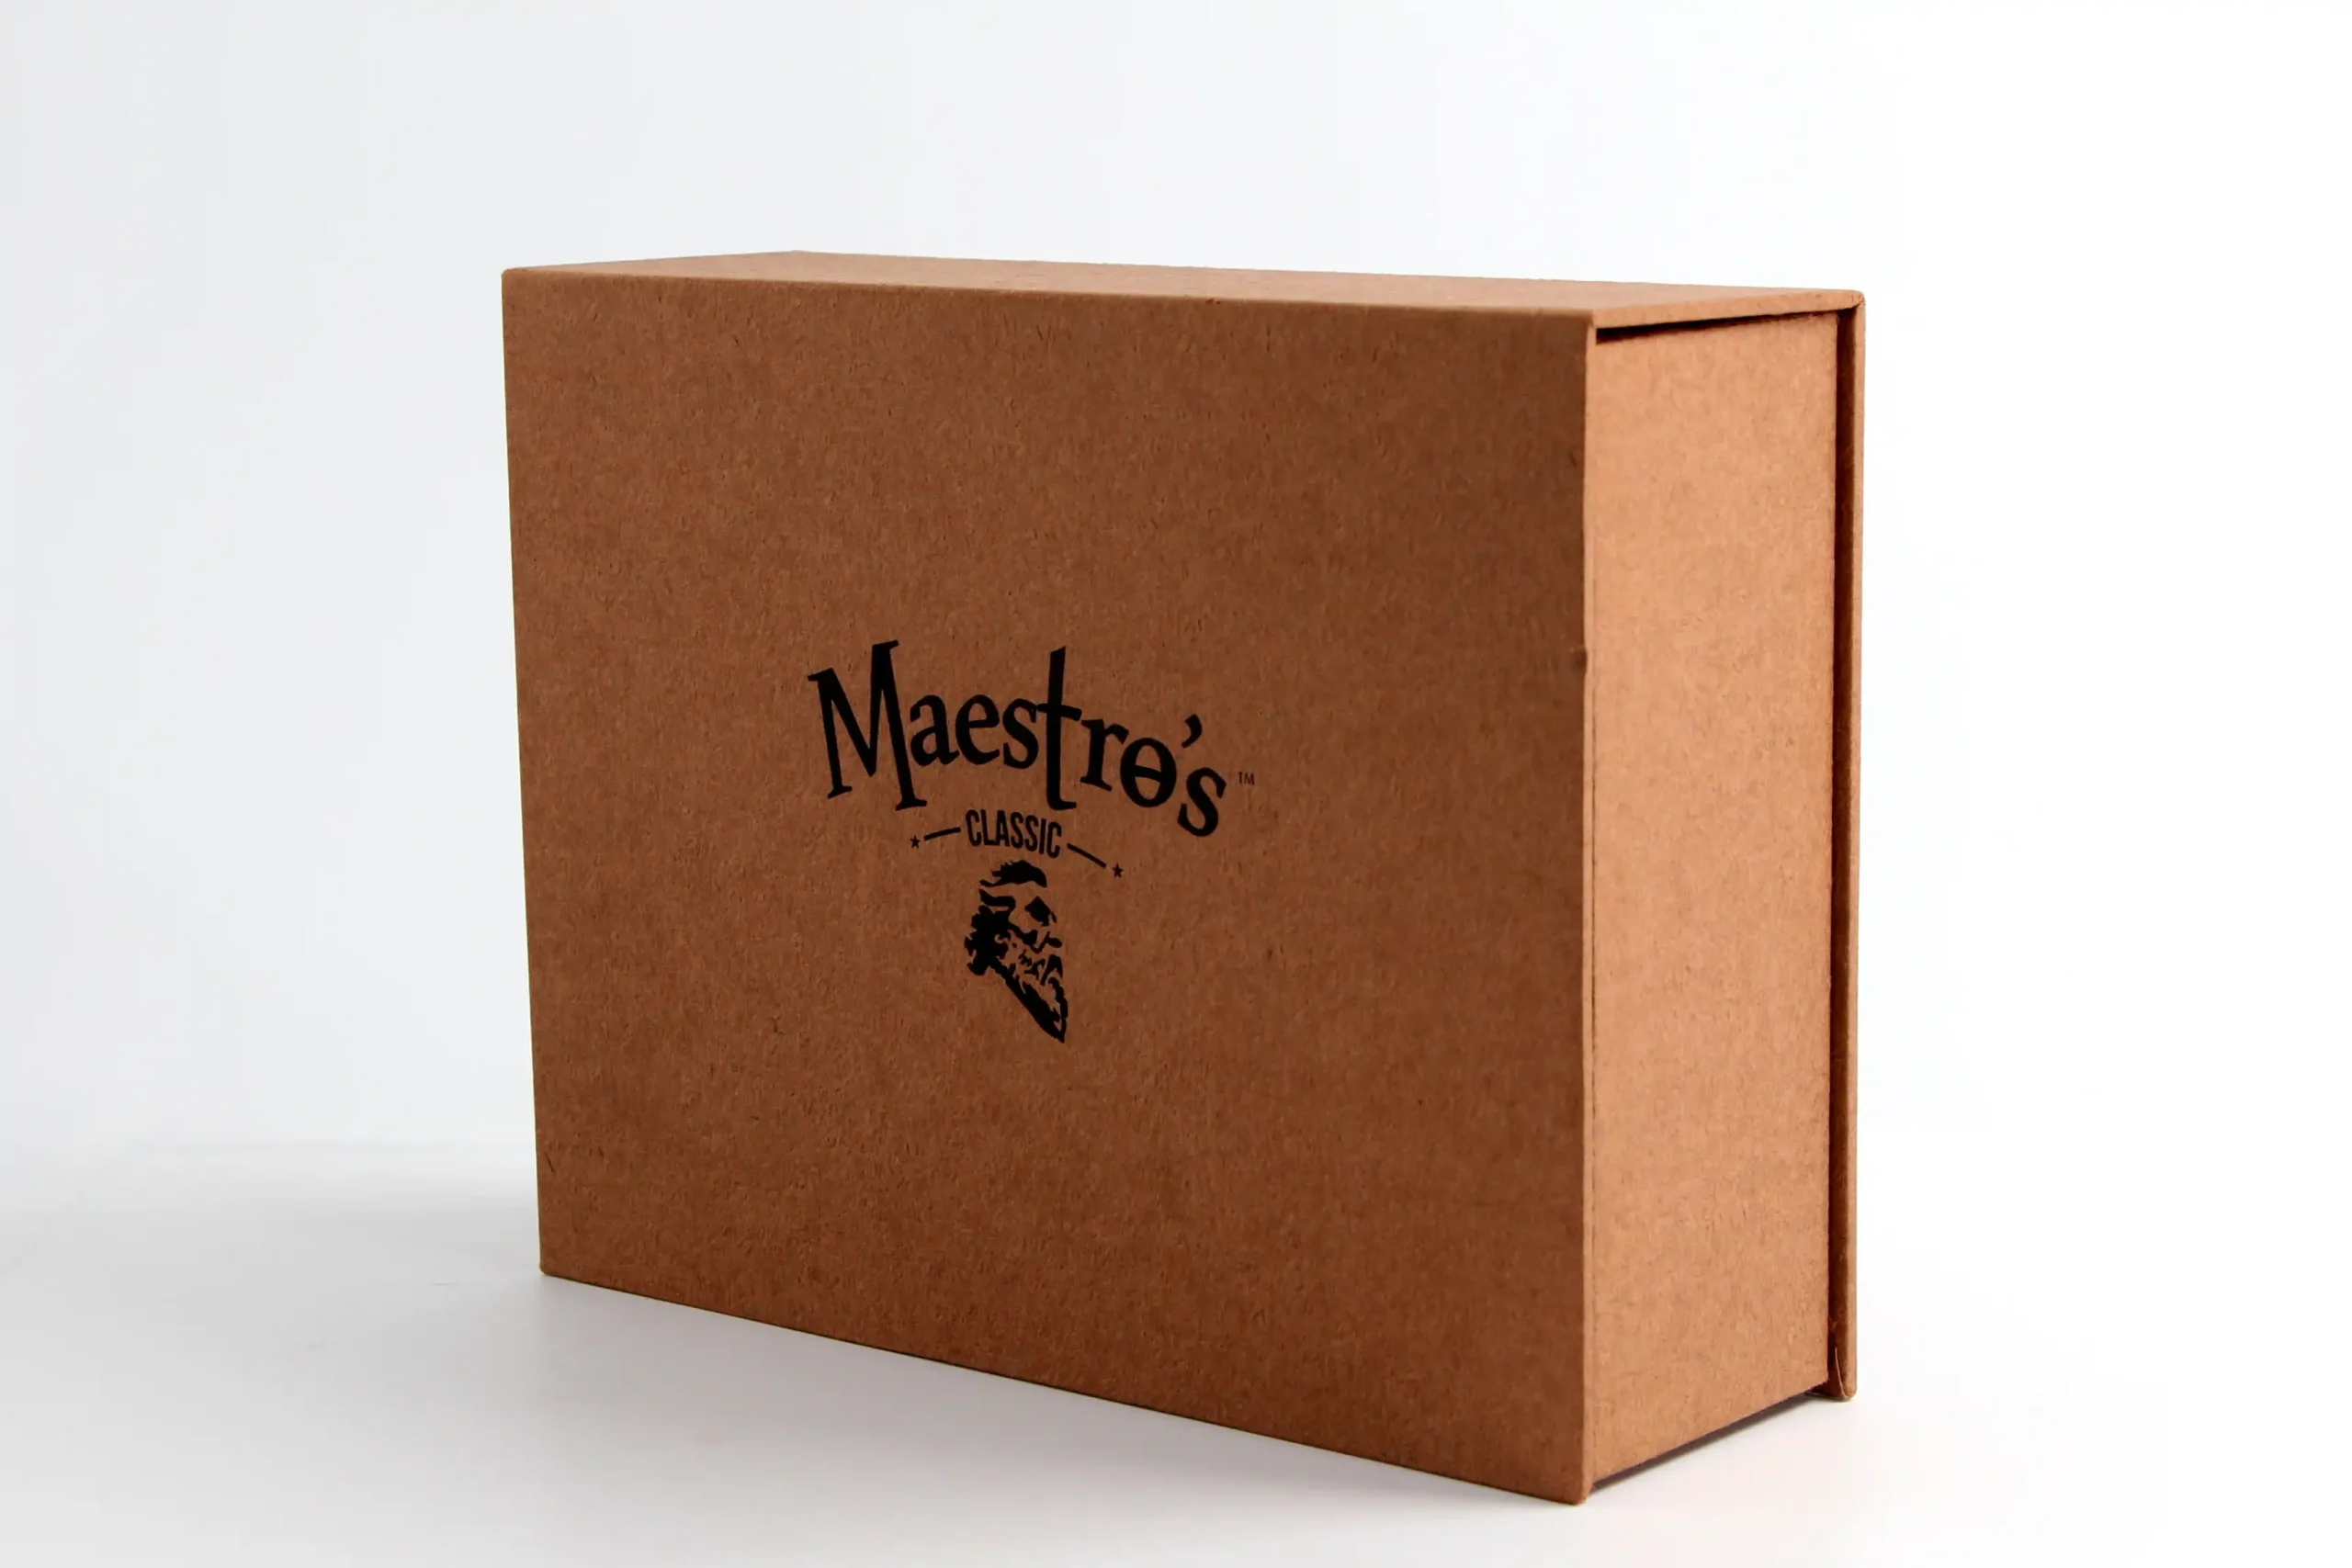
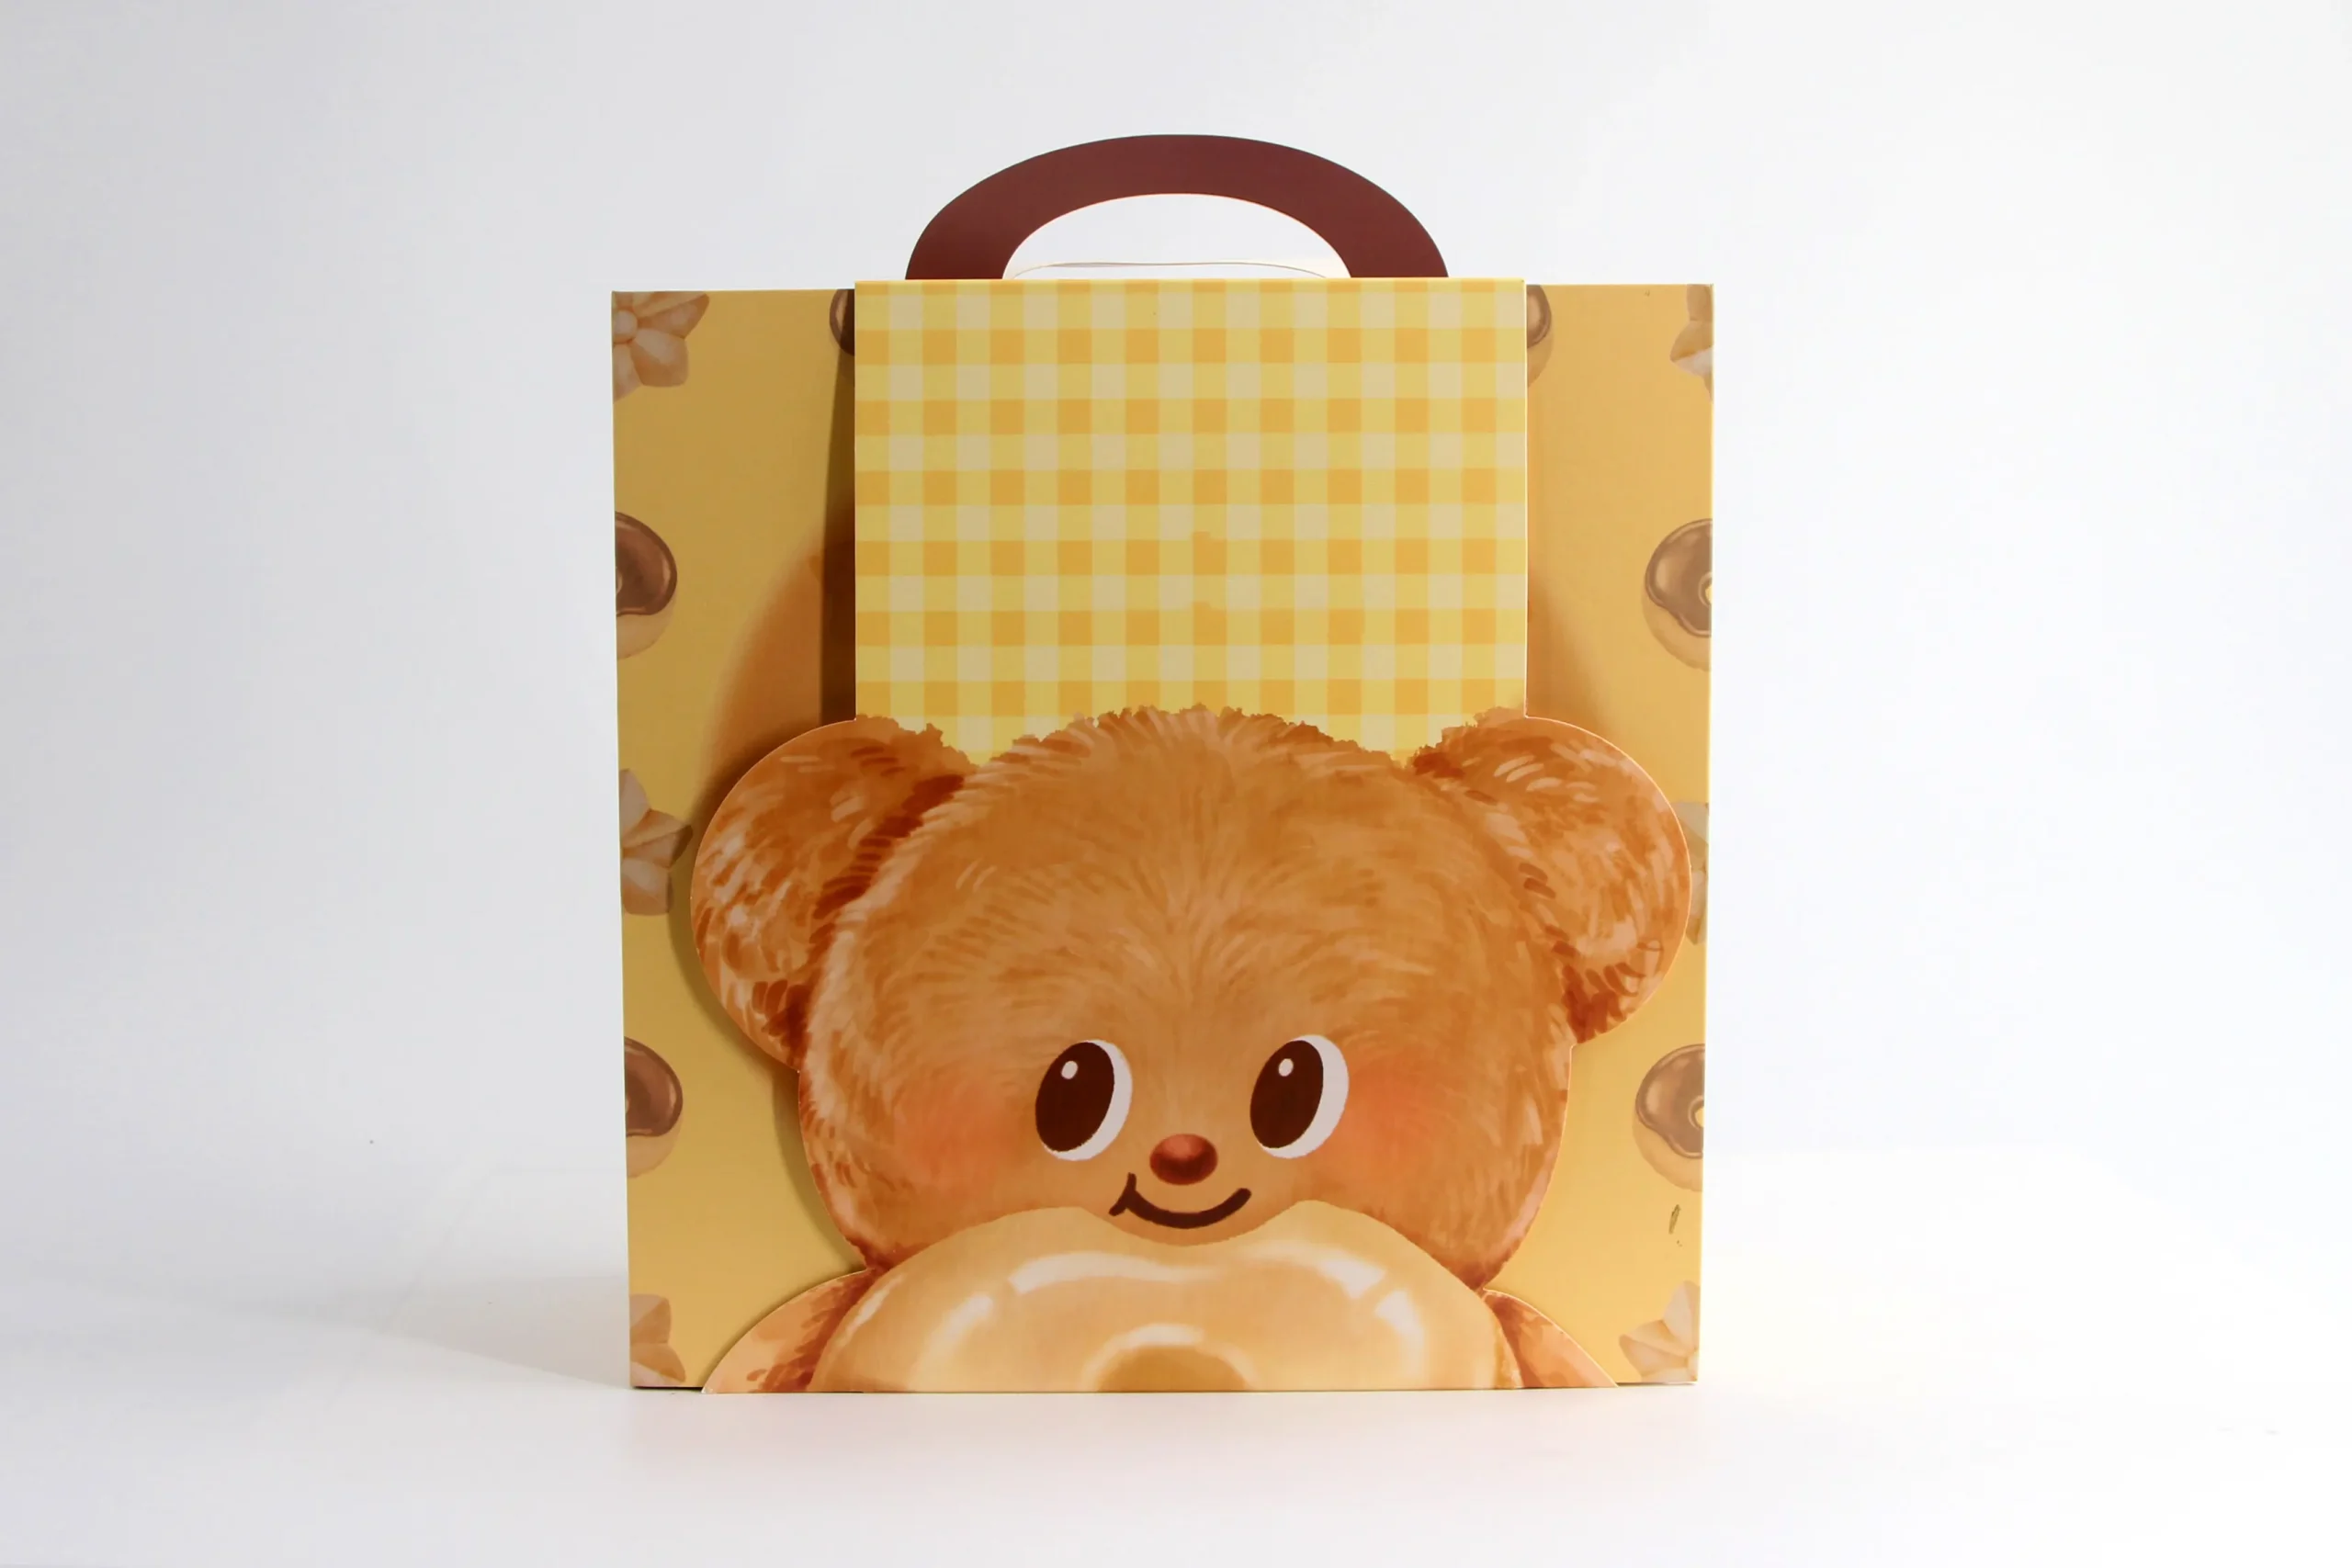
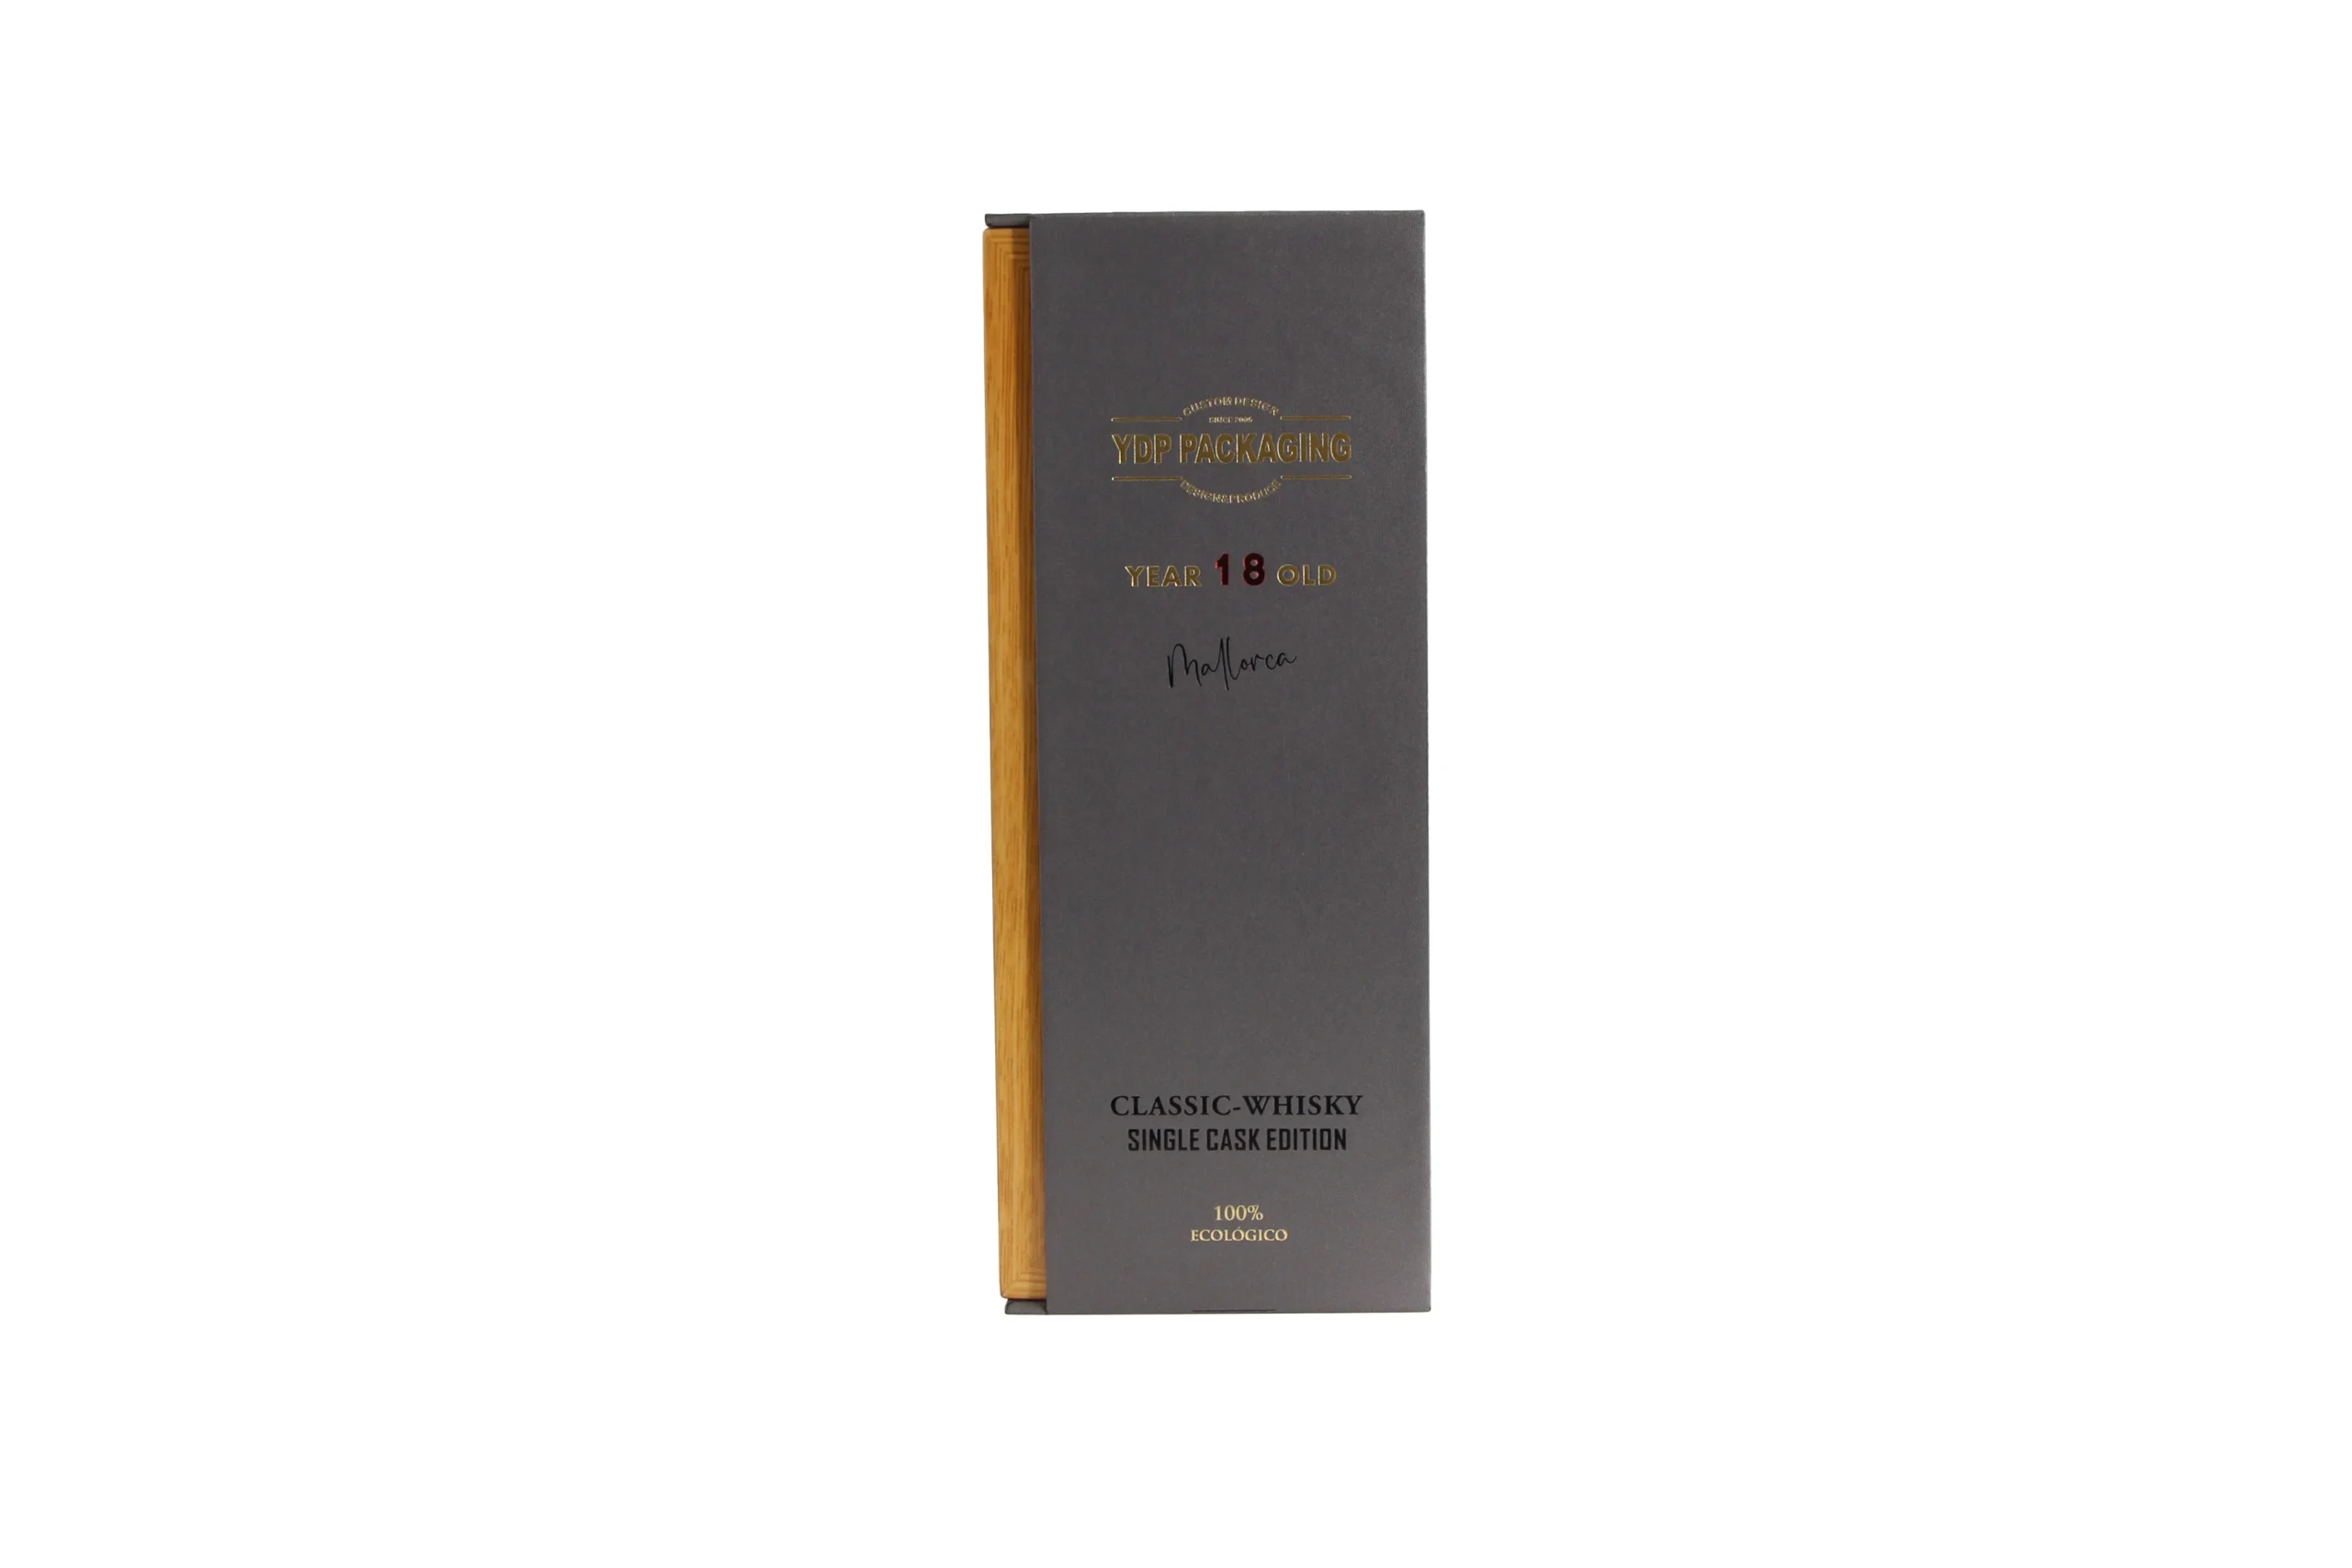
Four real cases in our data confirm this sequence consistently. A kraft paper gift box built in a classic saddle-brown finish applies foil stamping and a debossed texture to the leather-effect panel, then adds a lining board, flocked fabric, and finally the magnet, all in that order, on the same panel. An Eid gift box in a black-and-gold color scheme mounts a metal nameplate onto the outer shell only after embossing and foiling are complete, while the interior drawer receives pearl cotton and silk lining as a separate, later assembly step. A Chinese New Year lantern-themed box adds a metal carry ring and other hardware only after every panel has been die-cut and the structure partially assembled, with the base receiving its EVA wrap and snap-fastener hardware as one of the final steps. And a wine gift box built with a leather-effect exterior installs its hardware lock and clasp, along with flocked EVA lining inside the lid, only after the box has fully taken shape, right before final assembly.
Hardware Mounting: Riveted vs Glued, and Why the Difference Shows Up Late
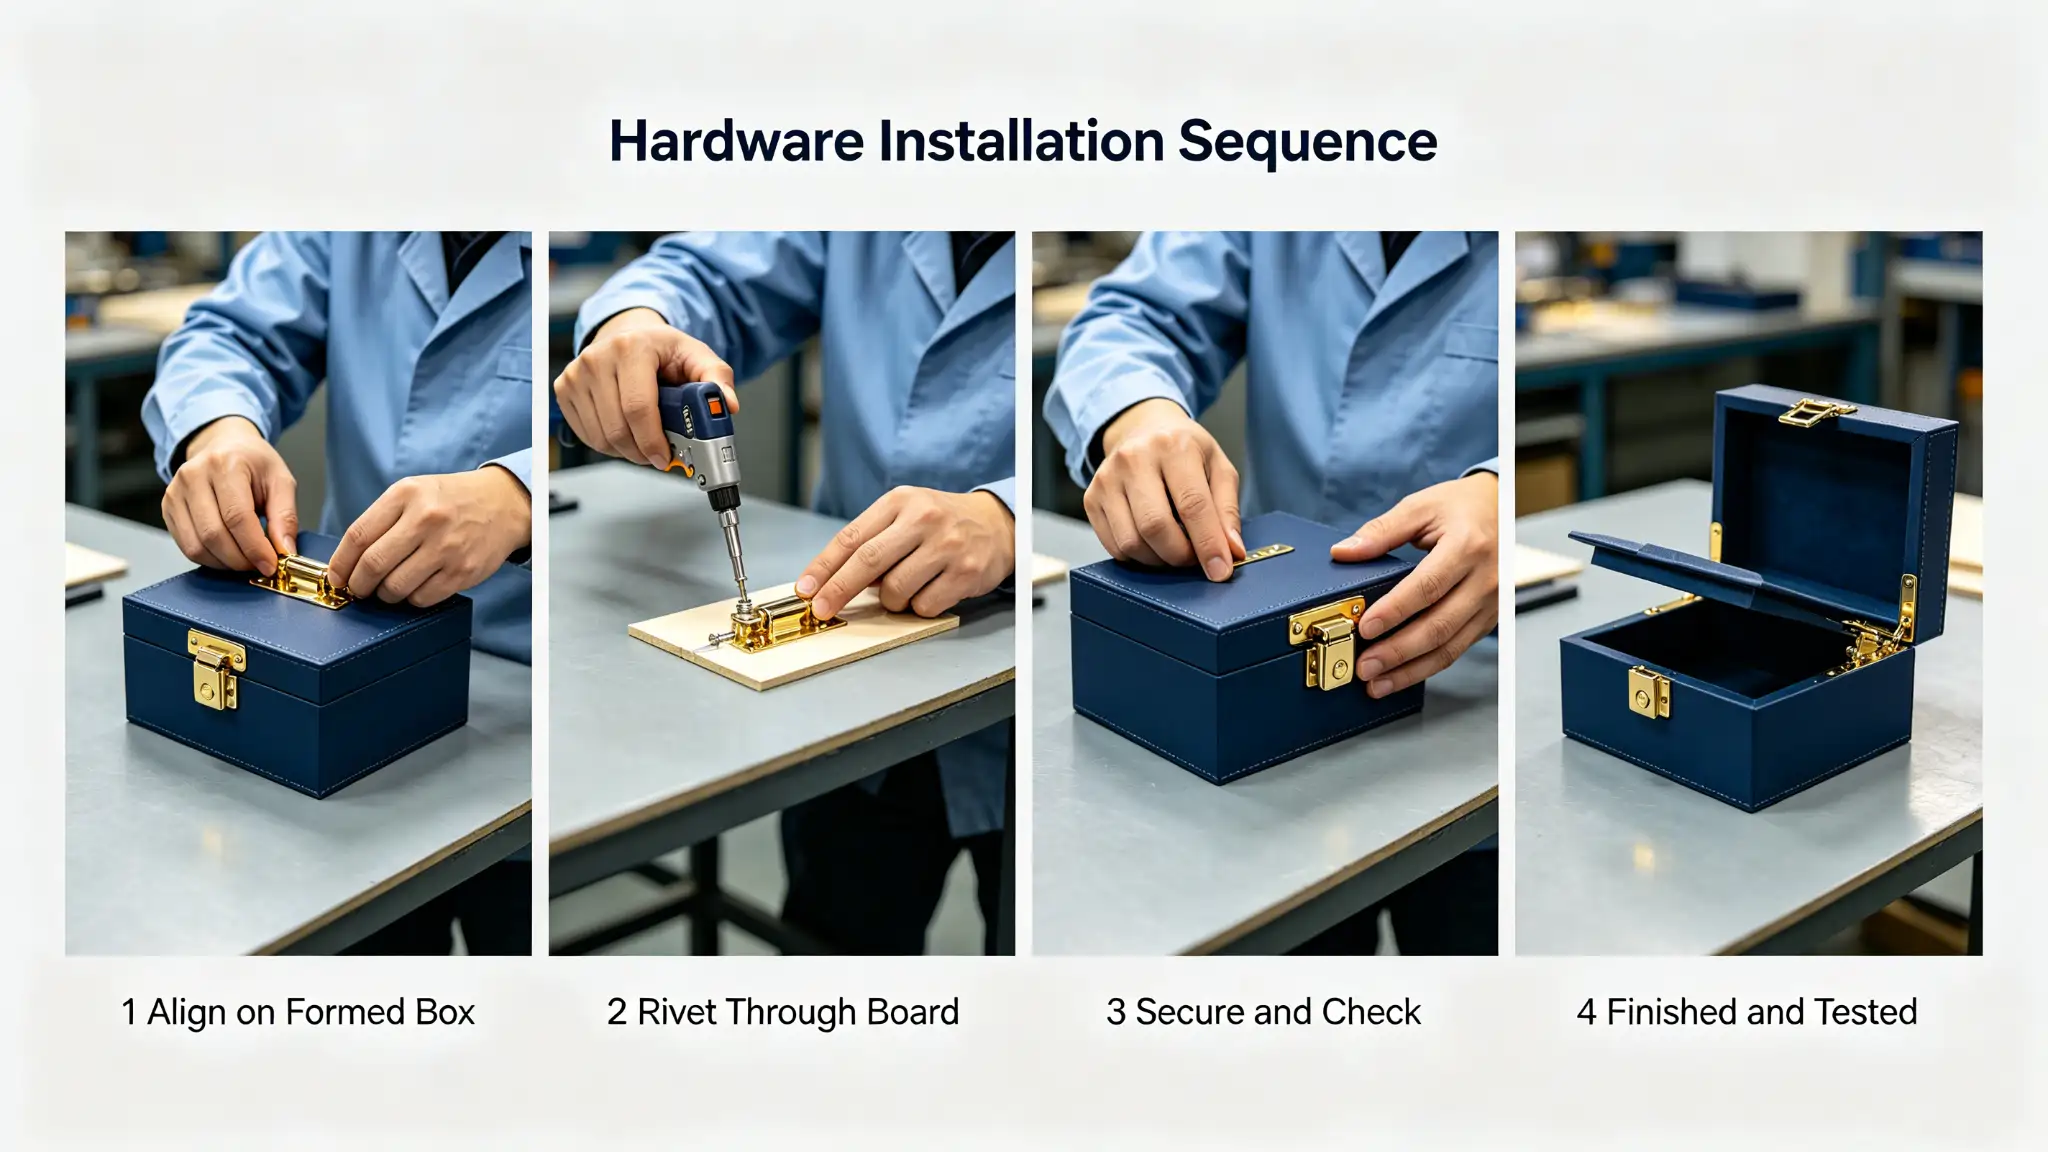
Metal gift box hardware — clasps, nameplates, carry rings — gets attached either through a riveted connection passing through the board or an adhesive bond to the surface. Both methods happen at the same late stage in production, but they behave very differently over time. A riveted connection distributes stress across the board and tends to hold up under repeated use. An adhesive bond depends entirely on surface contact and can loosen gradually, especially on gift box hardware that gets opened and closed often. This difference is invisible on a fresh sample and only shows up after months of real handling, which is exactly why it’s worth asking about at the quoting stage rather than discovering it after a reorder starts loosening.
Why This Stage Determines the Final Assembly Timeline
Because gift box hardware and lining installation happens after every other process is complete, it’s usually the last variable standing between a finished sample and a shipped order. A gift box hardware build with multiple pieces, flocking, and a magnet stacks several manual installation steps in sequence, each one adding to the timeline in a way that a purely printed and laminated box never has to account for.
What to Know Before You Request a Quote
A few production basics apply across the hardware and lining techniques in this guide.
Minimum Order Quantity
1,000 units per SKU is standard across our product range.
Sample Lead Time
7 days from confirmed spec to sample in hand.
Production Lead Time
30 to 45 days, with hardware-heavy structures often needing the longer end of that window.
Sourcing Note
Magnet strength used in gift box hardware generally follows neodymium grading standardized under ASTM A1101. Fold and flex components built into hardware-adjacent panels can be evaluated using a method like ISO 5626. For products shipping internationally, ISTA transit testing can confirm hardware attachments hold under real handling conditions.
FAQ
Why is gift box hardware installed last instead of earlier in production?
Most hardware needs a finished, formed structure or a fully lined surface to attach to correctly. Installing it earlier risks misalignment once folding and lining are complete.
Does flocking always go on before hardware is mounted?
Yes, in nearly every case in our data. Flocking needs unobstructed access to the surface, and mounting hardware first would interfere with even adhesive coverage.
Is riveted hardware always better than glued hardware?
For gift box hardware that gets opened and closed repeatedly, riveted connections generally hold up better over time. Glued hardware can work well for lower-handling applications where cost is more of a priority.
Why do magnets sometimes rattle in a finished box?
Usually because the magnet wasn’t properly seated in its recess before the panel folded shut. Confirming this step during sampling is worth doing before full production runs.
What’s the minimum order quantity for custom gift box hardware?
1,000 units per SKU is standard. Sampling takes about 7 days, full production 30 to 45 days after that.
Where can I learn more about gift box manufacturing beyond hardware and linings?
See our Gift Box Manufacturing Guide for the full five-stage production process, including printing, foil stamping, and structural forming.
Explore More Packaging Resources
Gift Box Manufacturing: A Complete Process Guide from Print to Finished Box · Die Cutting Packaging: How Structural Forming Actually Works · Non Toxic Packaging: What Water-Based Coating Actually Means · TopVisio Home